 Tokyo
Tokyo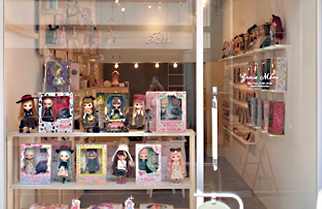 Osaka
Osaka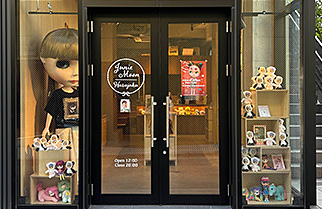 Tokyo
Tokyo Doll Fashion
 Junie Moon
BLYTHE is a trademark of Hasbro.
© 2012 Hasbro. All Rights Reserved.
Photography by CWC.
www.blythedoll.com
このサイトに掲載されているイラスト・写真・文章の
無断転載を固く禁じます。
© 2012 Hasbro. All Rights Reserved.
Photography by CWC.
www.blythedoll.com
このサイトに掲載されているイラスト・写真・文章の
無断転載を固く禁じます。